
My sump and cover for the bearing cap bridge aswell as the oil pickup had seen better days
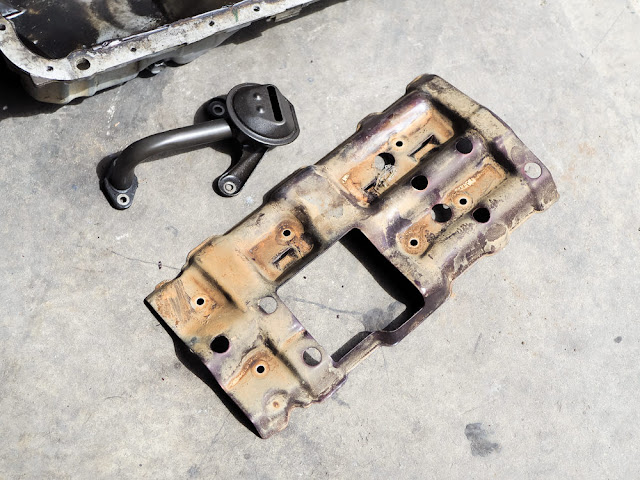


And then they had a meeting with some oven cleaner


The sump was still quite dirty on the outside so I used some cheap paint from SCA that I had lying around

Primed

Painted

Not bad for $2 paint.
I got annoyed at the fact that the permatex sealant (or any other sealant for that matter) always comes with those shitty tubes that always dry up making you have to use it straight from the tube. My workaround for this was to put some sealant into a syringe and use it as needed which would give me nice thin beads every time

Much better

Sealant on the sealing bolt lips

Some medium strength threadlock on the bolts

And we're in

Next up were the cam seals

Cam seal seat/lips cleaned

I found a 32mm socket to be a perfect fit as you need to push the seal in straight rather than pushing on the corners

Seal face lubed (the middle has grease on it if you get OEM ones so no need to grease it up)

On the socket

And in they go

Last I removed the studs for the aircon pump as I won't be installing it back on and might make up a bracket and use bolts if I want to relocate the alternator.
Studs on

Double nut

I prefer using the closed end of a spanner so I insert it before putting the nuts on

Nuts & bolts off

And we clean
